Compress Images Offline Windows Free Without Internet — The Complete Guide
How to shrink image file sizes on Windows without uploading anything, without an internet connection, and without paying. Covers real ImageMagick commands and the KinoFlux Editor desktop compressor.

Nitiksh
June 2026
Compress Images Offline Windows Free Without Internet
You need to shrink a batch of photos — maybe for an email attachment, a website upload, or to reclaim disk space — but you’re on a Windows machine with no internet connection, or you simply refuse to hand your files over to some web service. The good news: you can compress images offline, completely free, without ever uploading a single byte. This guide shows you exactly how.
What people usually try first — and where they fall short
Before installing anything, most people reach for whatever is already on their PC. For image compression, that often means Paint, Photos, or even the “Send to → Mail recipient” trick. Those methods either don’t give you any control over the final quality, or they resize the image in ways you didn’t ask for. They are emergency hammers, not precision tools.
The command‑line route: ImageMagick (100 % offline, 100 % free)
If you’re comfortable with a terminal, ImageMagick is the industrial‑strength offline solution that has been around for decades. It runs on Windows, works without an internet connection, and costs nothing.
A single command is all it takes to compress a JPEG while stripping hidden metadata:
magick input.jpg -quality 80 -strip output.jpgWhat that does:
-quality 80re-encodes the image with a quality factor of 80 (scale 1–100).-stripremoves EXIF, GPS, ICC profiles, and thumbnail data — often reclaiming tens to hundreds of kilobytes for free.
You can add a resize if needed, for example:
magick input.png -resize 50% -quality 85 -strip output.jpgImageMagick handles JPEG, PNG, WebP, TIFF, BMP, and dozens of other formats. For the technically inclined, this is the gold standard of offline, no‑upload, no‑watermark image compression. The trade‑off is that you need to remember (or look up) the flags, and you don’t get a live preview of how much space you’re about to save.
Browser‑based compressors: convenient, but they break the “offline” requirement
Sites like TinyPNG, CompressJPEG, or ILoveIMG are genuinely useful when you’re online and working with files under their size limits. But they share the same DNA: you must upload your images to someone else’s server. That means:
- You need an internet connection.
- Large batches or high‑resolution originals get throttled or blocked.
- If privacy matters, you’re trusting a third party with every pixel.
For offline work, none of them help.
Why doing this locally makes sense — especially for compression
Image compression is a purely computational task. Your CPU and disk can handle it easily; there’s no technical need to route files through a remote data centre. When you keep the work local:
- No file upload – images never leave your machine.
- No size caps – a 120 MB raw TIFF is handled the same as a 400 KB screenshot.
- Works offline – no internet required, ever.
- Instant iteration – tweak the quality slider and see the result immediately.
The only missing piece for many Windows users is a desktop tool that wraps the power of something like ImageMagick in a clean interface — without adding account walls, watermarks, or upgrade nags.
KinoFlux Editor — the offline image compressor built into a desktop media suite
KinoFlux Editor is a cross‑platform desktop application (Windows, macOS, Linux) that runs every operation locally. Its Image Compressor tool gives you the same underlying engine as the command line — it calls ImageMagick under the hood — but adds a graphical quality slider, resize controls, and a live file‑size estimator so you know exactly what you’ll get before you hit save. No internet connection. No account. No watermarks. It’s free to use.
Step‑by‑step: compress an image offline with KinoFlux Editor
Here’s the simplest path from a large photo to a small, clean file.
-
Open the Image Compressor
Launch KinoFlux Editor and select the “Image Compressor” tool from the home screen. -
Pick your source image
Click the input selector and choose any JPEG, PNG, WebP, or other supported image. The app shows the original dimensions and file size immediately. -
Adjust the quality and watch the estimate update
The quality slider defaults to 80 %. Drag it down to 70 % or up to 90 % — a live banner shows:- Original size
- Estimated compressed size (computed by a real, transient compression test)
- Expected dimensions
- Reduction percentage (e.g., “72 % smaller”)
You can click a preset button — “Web Optimized”, “High Quality”, “Maximum Quality” — to jump to a common setting.
-
(Optional) Downscale the image
If you need to reduce the pixel dimensions, drag the resize slider below 100 %. The estimator recalculates everything instantly. -
Set the output location
The tool proposes a default name (yourimage_compressed.jpg) in the same folder as the original. You can override it or browse to a different directory. -
Compress
Click the “Compress” button. The operation runs locally; a progress indicator shows completion. The output file lands exactly where you specified, with no watermark and no quality‑surprise.
That’s it. The whole workflow requires zero internet, zero uploads, and zero sign‑ups.
Format and platform notes
- Supported input formats: JPEG, PNG, WebP, TIFF, BMP, and others that ImageMagick reads.
- Supported output: JPEG, PNG, WebP, and more — you can change the format by setting the output file extension.
- Platform: Windows 10 and 11 (also macOS and Linux).
- Metadata: The
-stripflag is applied automatically, so no hidden GPS coordinates or camera data travel with your compressed image.
Frequently Asked Questions
Does the tool require an internet connection?
No. KinoFlux Editor’s image compressor runs entirely on your local machine. You can use it on a plane, in a remote area, or simply with Wi‑Fi turned off.
Are my images uploaded anywhere?
Never. All compression happens on your device. The estimator even uses a temporary file in your OS temp folder that is deleted immediately after measurement.
Is it really free, with no watermarks?
Yes. The image compressor is part of the free KinoFlux Editor suite. There are no watermarks, no ads, and no “pro” paywalls for the features described here.
Can I use this on a Mac or Linux, or only Windows?
KinoFlux Editor is cross‑platform. While this guide is written for Windows, the same steps work on macOS and Linux with identical behaviour.
A clean desktop compressor puts you in control — you decide the trade‑off between quality and size, you keep your files to yourself, and you stay productive whether or not the internet is available.
Related Posts
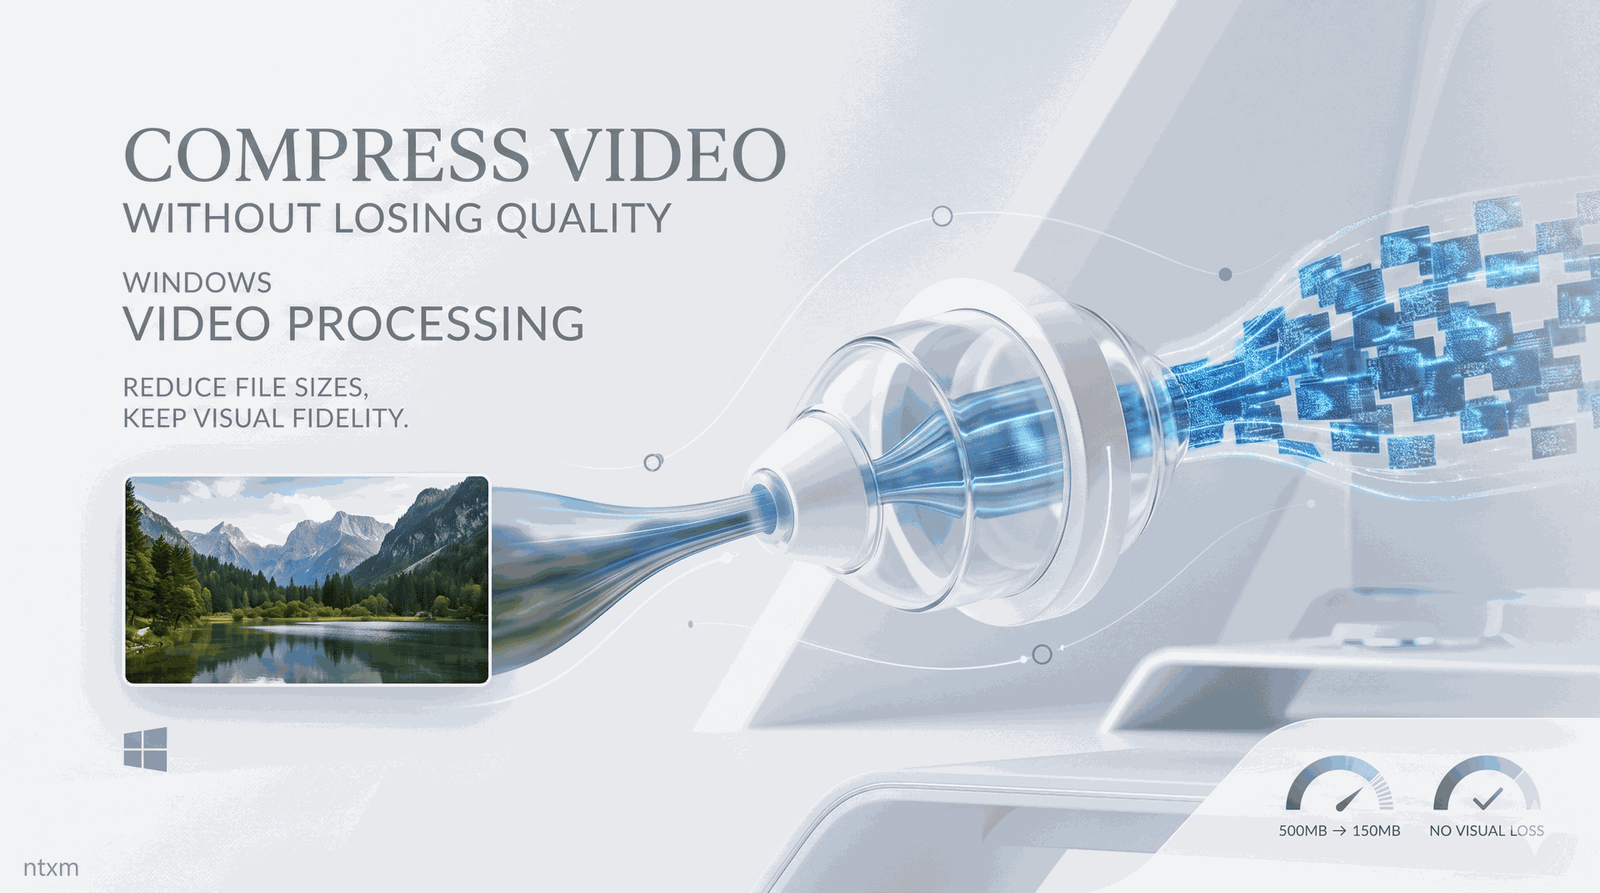
How to reduce video file sizes on Windows without sacrificing visual quality — covering FFmpeg, online tools, HandBrake, and a local‑first desktop compressor that runs entirely offline.
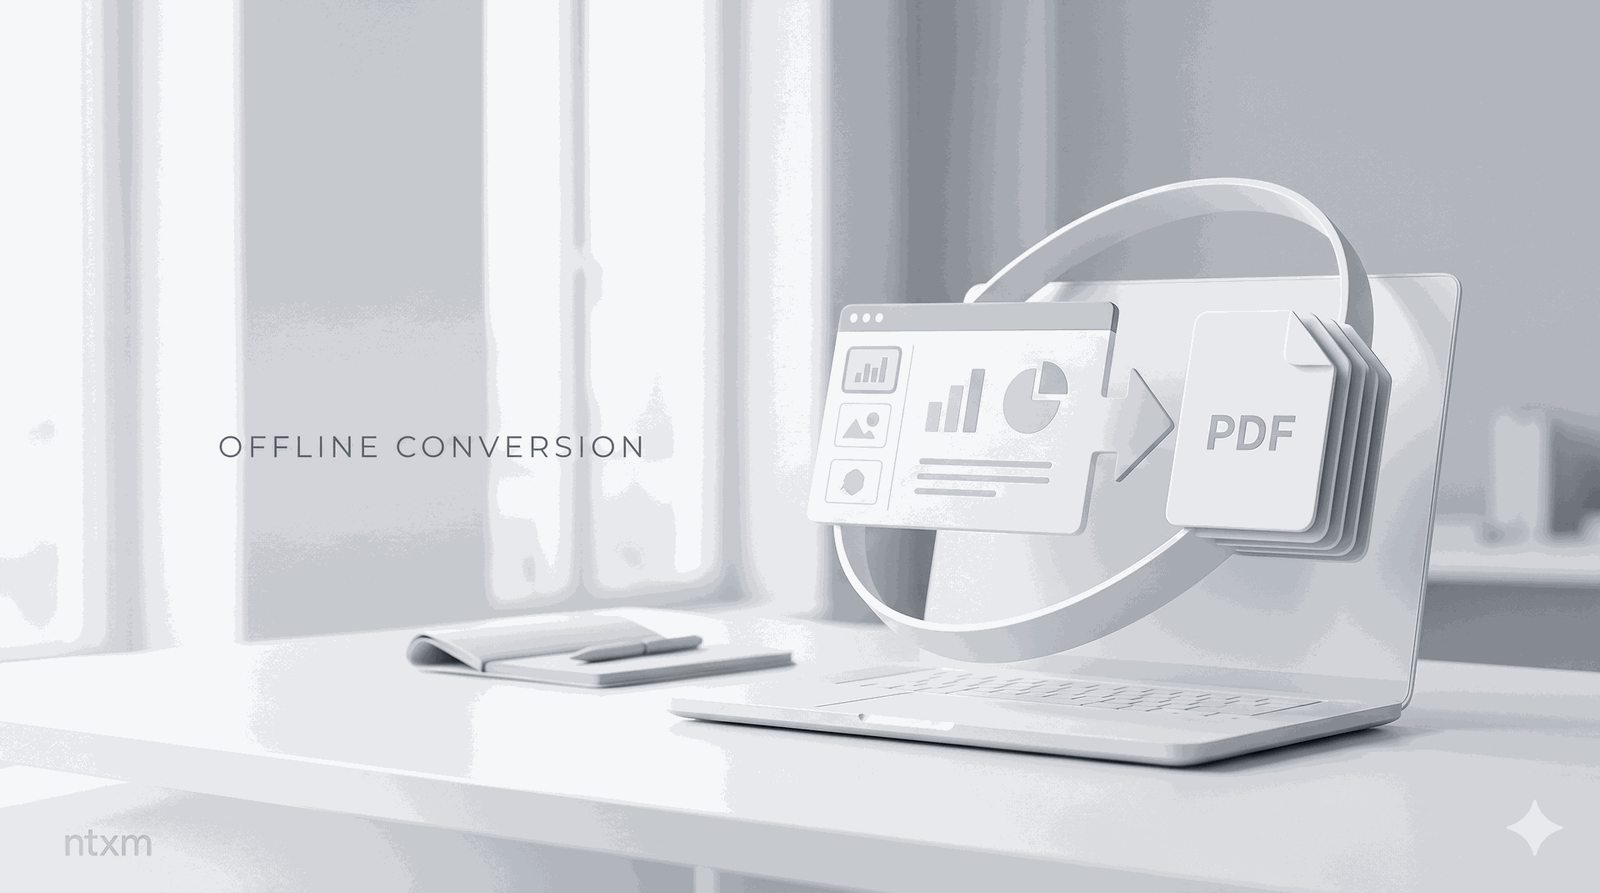
Need to turn a PowerPoint presentation into a PDF without an internet connection or uploading files? This guide covers the offline methods that work on Windows—from a fast command-line approach to a visual desktop tool.
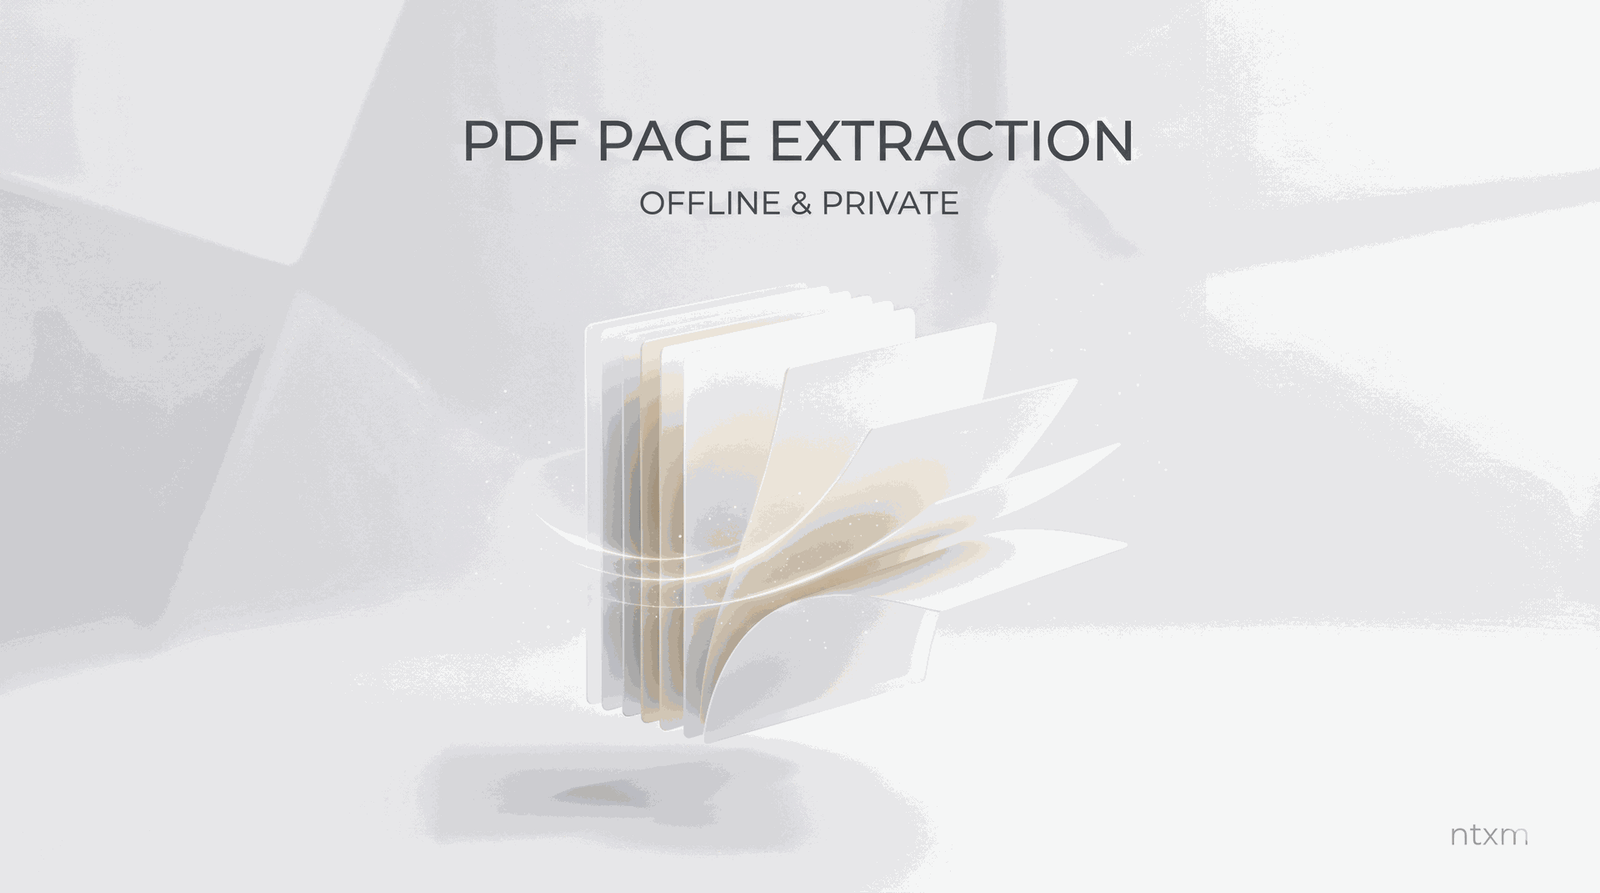
Step-by-step guide to pulling specific pages out of a PDF document using offline tools, command-line utilities, and a desktop application that never uploads your files.
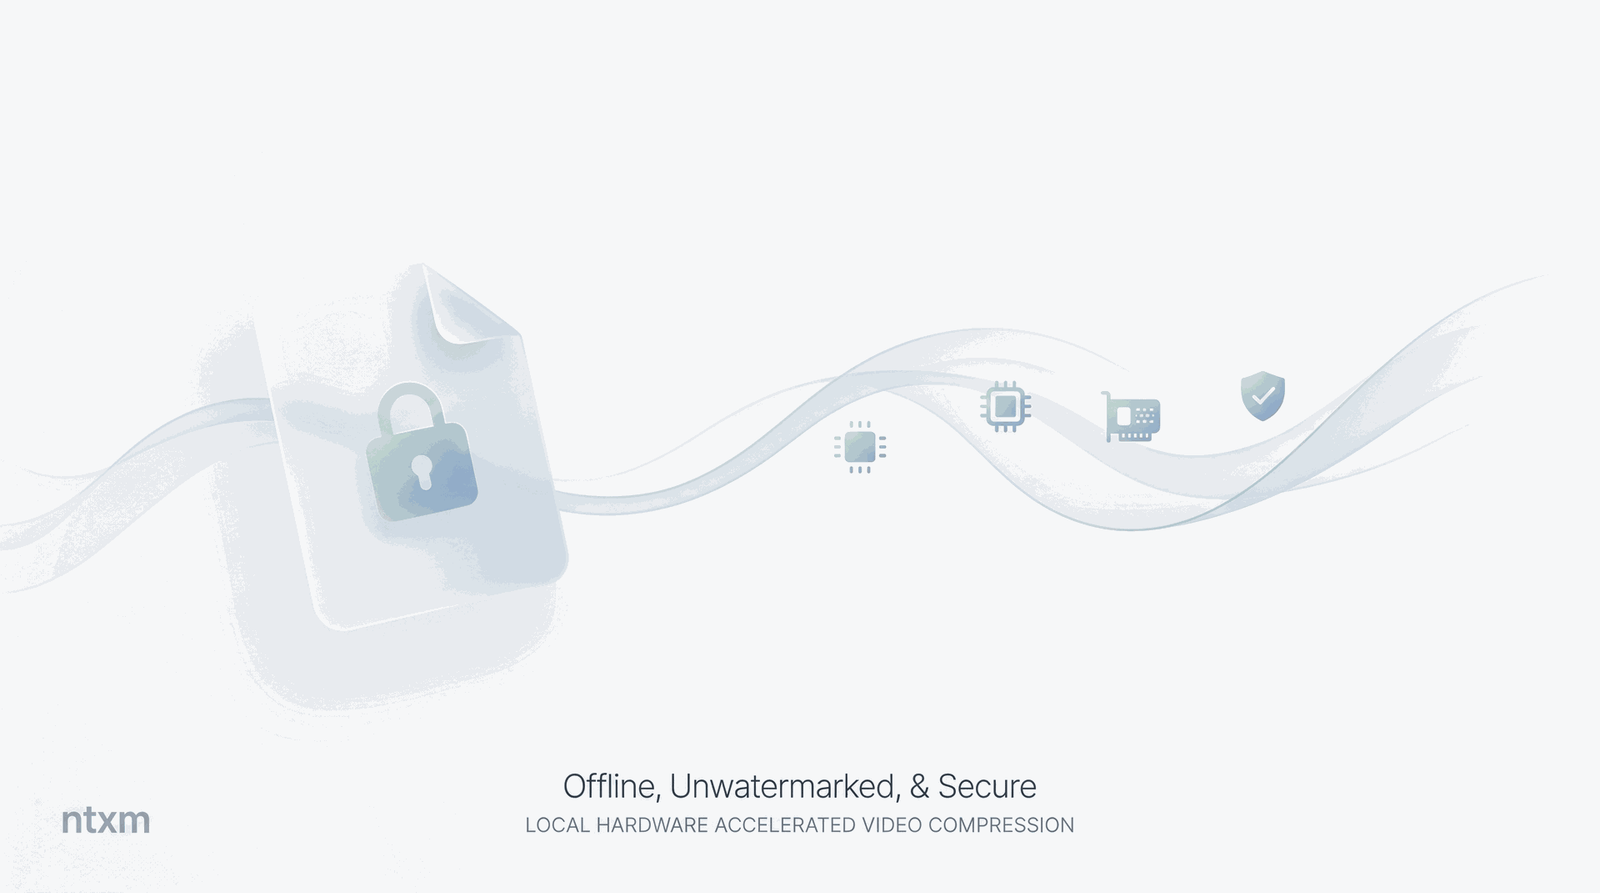
A deep investigation into why offline video compression matters, the hidden costs of cloud-based tools, and how local-first solutions like KinoFlux Editor deliver genuine privacy, hardware-accelerated speed, and full control over your files.