How to Downscale Video Resolution on Windows for Free — Without Losing Quality or Uploading Files
A practical guide to reducing video resolution on Windows using desktop tools, covering everything from FFmpeg commands to a simple interface that keeps files private and avoids watermarks.

Nitiksh
June 2026
How to Downscale Video Resolution on Windows for Free — Without Losing Quality or Uploading Files
You have a large video file. Maybe it’s 4K footage from a camera, a high-bitrate screen recording, or a clip that needs to fit within an upload limit or play smoothly on older hardware. You need to reduce the resolution — not the length, not the audio, just the frame dimensions — and you need to do it on Windows without spending money or sending the file to a cloud server.
Here’s how to do that reliably, with several approaches that actually work offline.
Common Ways People Try to Downscale Video Resolution
Most users approach this problem in one of three ways:
The online converter approach. You upload your file to a website, select a lower resolution, and download the result. These tools are convenient for tiny clips. But they often cap file sizes at 500MB or 1GB, require uploading large videos over potentially slow connections, and many add watermarks or compress the output aggressively. For anything beyond a short phone video, this approach becomes impractical or privacy-sensitive.
The built-in Windows approach. The legacy Photos app has a video trimmer, but it does not offer resolution scaling. The newer Clipchamp app can export at lower resolutions, but it runs inside a browser wrapper and often requires logging into a Microsoft account. It also relies on cloud processing for some operations.
The professional editor approach. Software like DaVinci Resolve or Adobe Premiere can scale resolution easily, but they are heavy, require installation of hundreds of megabytes of dependencies, and are overkill for a simple one-step conversion.
There is a better path: local desktop tools designed specifically for format conversion and scaling.
The Most Direct Technical Solution: FFmpeg
If you are comfortable with the command line, FFmpeg remains the most powerful and dependency-free way to downscale video resolution on Windows.
- Download FFmpeg from the official site and add it to your system PATH.
- Open Command Prompt or PowerShell.
- Run:
ffmpeg -i input.mp4 -vf "scale=1280:720" -c:a copy output_720p.mp4This command scales the video to 1280x720 while preserving the original audio stream without re-encoding it. For a more flexible scaling operation that maintains the original aspect ratio, use:
ffmpeg -i input.mp4 -vf "scale=1280:-2" -c:a copy output_scaled.mp4Here, -2 tells FFmpeg to calculate the height automatically based on the width while ensuring the result is even — a requirement for many codecs.
FFmpeg works well, supports hardware acceleration if configured, and gives you precise control. But it requires learning command syntax, reading error messages, and manually specifying output paths. Not everyone wants to type commands for a video conversion.
Why a Local Desktop Tool Makes More Sense for This Operation
When you downscale video resolution locally, nothing leaves your computer. There is no upload time. There is no file size limit beyond your available storage. You are not waiting for a remote server to process your video while your internet connection carries hundreds of megabytes or gigabytes of data.
This matters more when you are working with high-resolution footage from cameras or game captures, where a single file might exceed 10GB. Trying to upload that to a free online converter is a non-starter — it takes hours, often fails, and raises questions about where your footage ends up.
Local processing also means you control the encoding quality, the codec selection, and the output format. You are not bound by whatever preset an online service forces onto your file.
KinoFlux Editor: A Desktop Tool for Resolution Downscaling
KinoFlux Editor is a cross-platform desktop media suite that handles video resolution conversion directly on your machine. It runs on Windows, macOS, and Linux, performs all operations locally, and does not require an account or an internet connection.
For downscaling, the Video Resolution Converter within KinoFlux gives you a straightforward workflow without needing to memorize FFmpeg flags.
Step-by-Step Walkthrough: Downscaling a Video in KinoFlux Editor
Step 1: Launch the application and navigate to the Video Resolution Converter.
From the main dashboard, select the Video Resolution Converter tool. This module is built specifically for scaling videos to standard heights while preserving the original aspect ratio.
Step 2: Select your input video.
Click the input selector and choose the video file you want to downscale. Supported formats include MP4, AVI, MOV, MKV, and WebM.
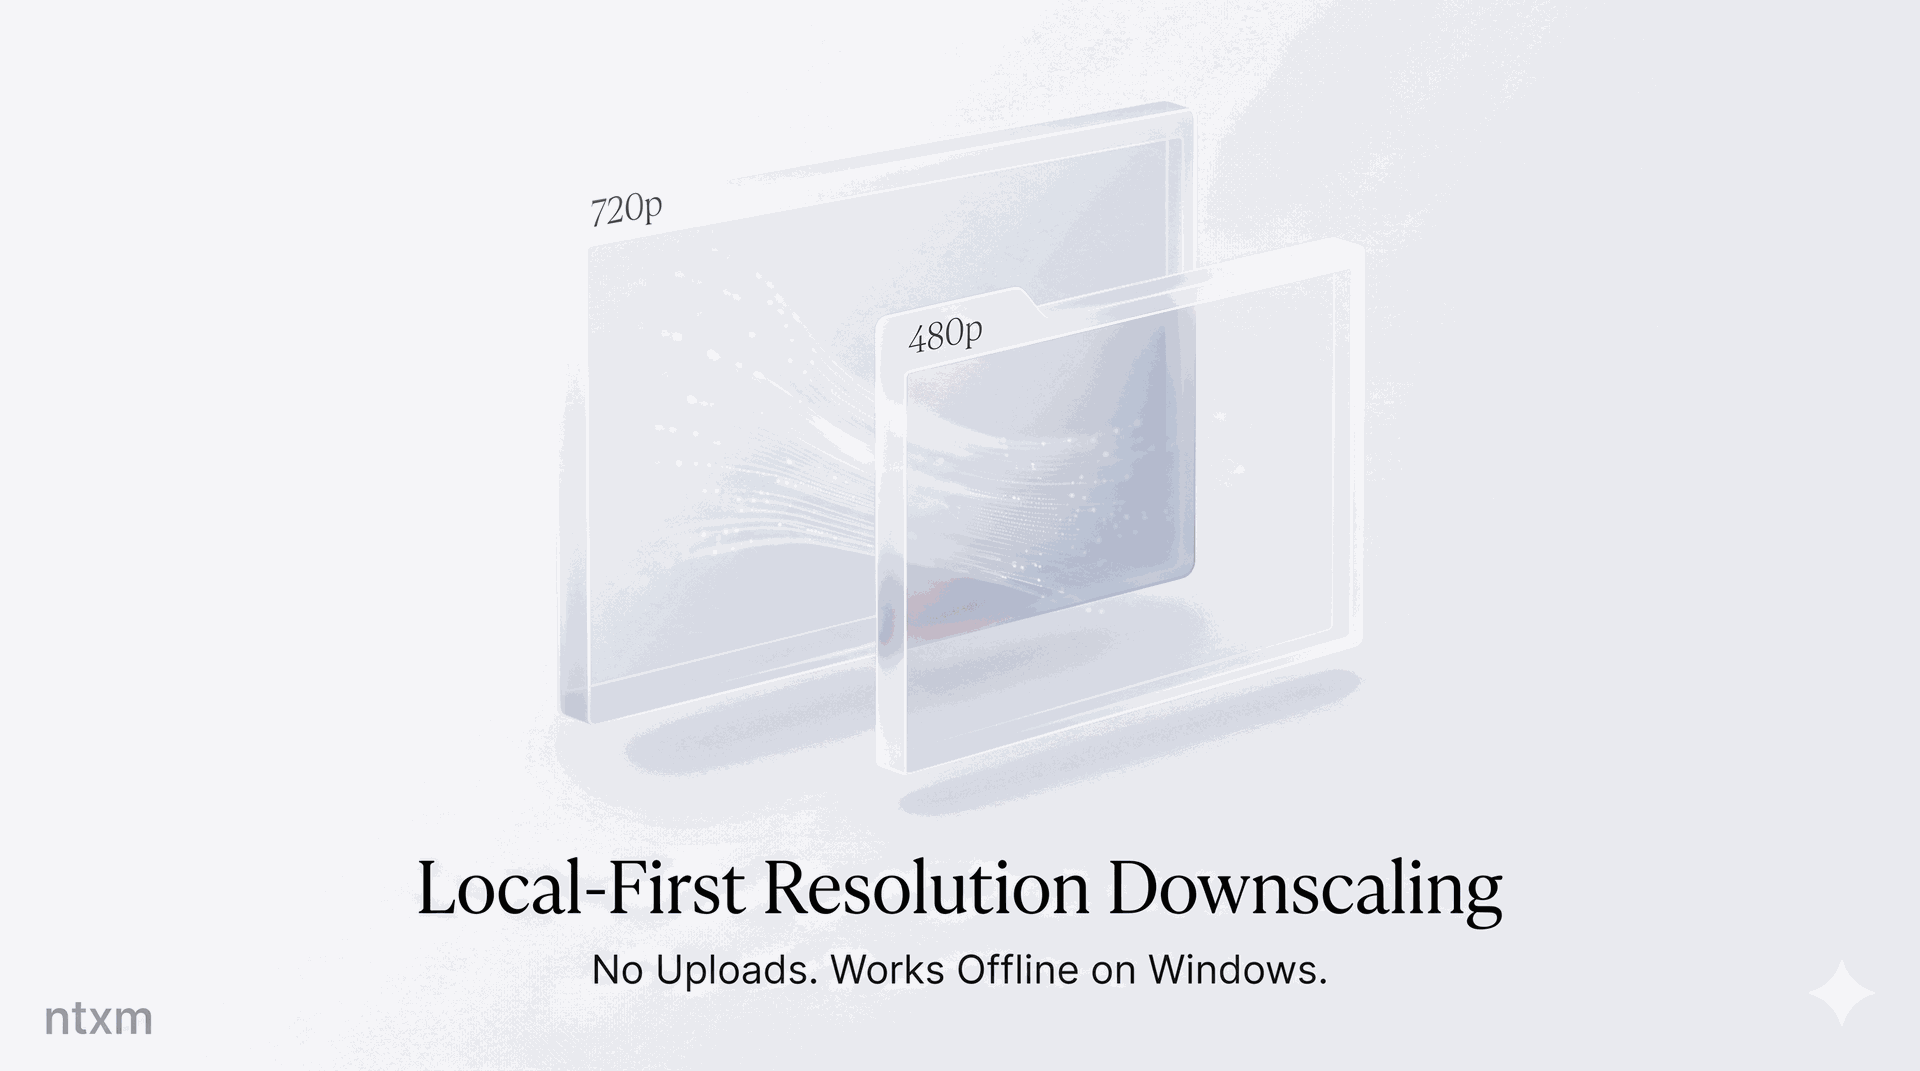
Step 3: Choose a target resolution.
A grid of preset resolutions appears: 1080p, 720p, 480p, 360p, 240p, and 144p. Select the one that matches your requirement. The tool calculates the corresponding width automatically based on your source video's aspect ratio.
Step 4: Set the output location.
The output path is automatically populated with a filename that includes the target resolution — for example, myvideo_720p.mp4 — saved in the same folder as the input file. You can change this location if needed.
Step 5: Start the conversion.
Click the convert button. The backend processes the video using hardware acceleration where available (NVENC, Intel QSV, or AMD AMF on Windows) and emits real-time progress updates so you know how much time remains.
When the conversion finishes, the output folder opens automatically.
What Happens Behind the Scenes
The backend calculates the output dimensions using a simple rule:
- It takes the selected height (say, 720 for 720p).
- It multiplies that by the source width-to-height ratio.
- It rounds the result to the nearest even number, because H.264 and H.265 encoders require even pixel dimensions.
Critically, the tool includes an upscaling guard. If your source video has fewer total pixels than the target resolution, the conversion will not proceed. This prevents accidental quality loss from trying to turn a 480p clip into 1080p — a common mistake in other tools that simply stretch the image.
The audio stream is copied directly without re-encoding, preserving original quality and speeding up the process.
Format and Platform Notes
- Input formats: MP4, AVI, MOV, MKV, WebM, and most common container formats.
- Output format: The tool outputs MP4 using H.264 video encoding, which offers broad compatibility across players, devices, and platforms.
- OS compatibility: Works on Windows 10 and 11, macOS (Intel and Apple Silicon), and most modern Linux distributions.
Frequently Asked Questions
Is there a free way to downscale video resolution on Windows without uploading files?
Yes. FFmpeg is completely free and runs entirely offline. KinoFlux Editor also processes video locally without requiring any file upload, and it is available as a one-time purchase without subscription fees.
Does KinoFlux Editor add a watermark to downscaled videos?
No. KinoFlux does not add watermarks to any output file. The video you export is exactly the video you processed — scaled and encoded, without branding overlays.
Can I downscale video to 1080p or 720p if the original resolution is lower?
The tool prevents upscaling by design. If you select a target resolution that would increase the total pixel count beyond the source, it will show an error and stop the process. This protects output quality.
Which operating systems are supported?
KinoFlux Editor runs on Windows 10 and 11, macOS 10.15 and later, and major Linux distributions (Ubuntu, Fedora, Arch, etc.). The same workflow works across all platforms.
For most Windows users, the path to downscaling video resolution comes down to a choice between the control of FFmpeg and the convenience of a dedicated desktop tool. Both keep your files local, both are free or low-cost, and neither requires trusting your footage to a third-party server. The right option depends on whether you prefer typing commands or clicking through an interface — but either way, the result is a smaller video ready for its next use.
Related Posts
A practical guide to downscaling 720p video to 480p on Windows without internet, file uploads, or watermarks. Covers an FFmpeg command, online tool limitations, and a step-by-step walkthrough using KinoFlux Editor’s built‑in resolution converter.
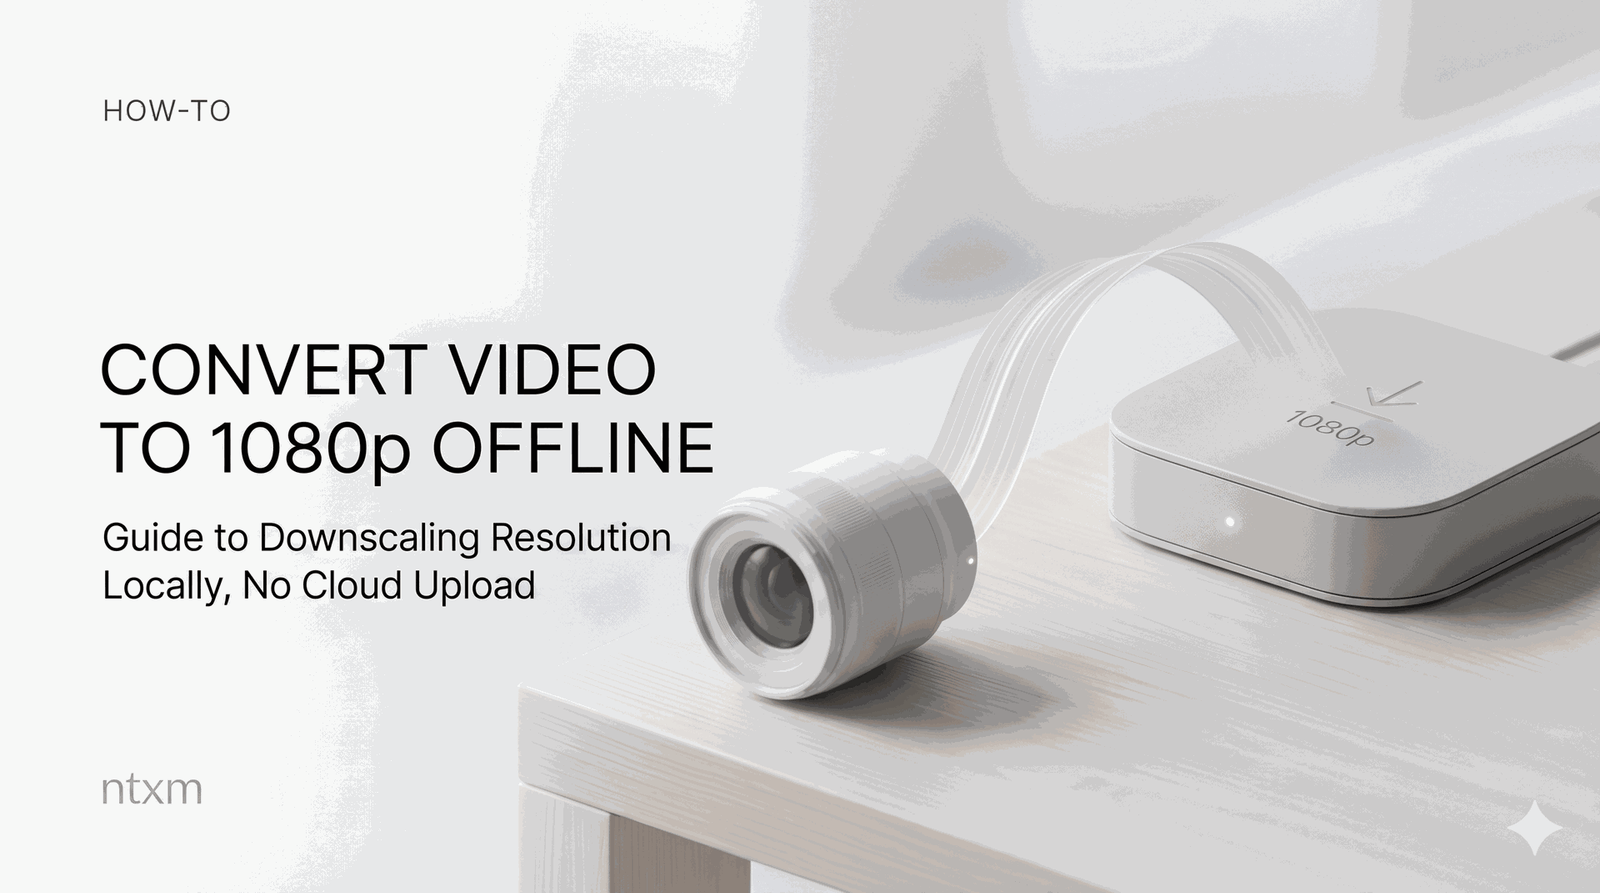
Downscale any video to 1080p without uploading files. This guide covers working FFmpeg commands, real limitations of online tools, and a step‑by‑step walkthrough using a dedicated desktop converter that processes everything locally.

How to turn a video file into a complete HLS streaming package (master .m3u8 playlist, .ts segments, and adaptive bitrates) on a Windows PC — using free command-line tools and a dedicated offline desktop application.

A direct, step-by-step guide to stripping audio from video files on Windows without spending money, uploading files, or dealing with watermarks. Covers FFmpeg, online tool caveats, and a local desktop option that does the job in one click.