
Open HEIC, WebP and AVIF photos: convert them to JPG or PNG
iPhone photos arrive as HEIC, downloaded images as WebP or AVIF, and the program you need will not open them. How to turn them into normal JPG or PNG files on Windows or Mac with KinoFlux Editor, in bulk.
Nitiksh3 min readKinoFlux Editor
On this page
Your phone sends photos as HEIC. A website gives you images as WebP or AVIF. Then the photo printing site, the form upload, the old photo viewer or your email client refuses them. These are modern formats that save space, but not every program understands them.
Image - Convert / compress in KinoFlux Editor turns them into ordinary JPG or PNG files, as many at once as you like, on your own computer. It also removes the GPS location from the photos by default.
How to convert HEIC, WebP or AVIF to JPG#
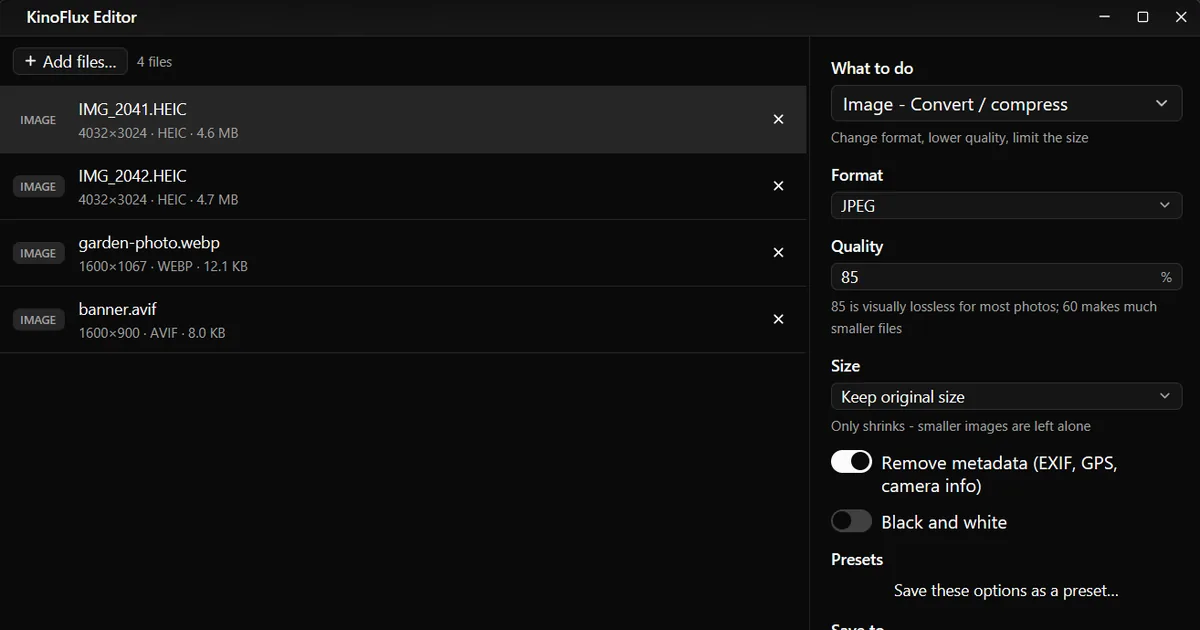
- Add the pictures. Drag the files, or a whole folder, onto the KinoFlux Editor window.
- Pick the tool. Press Ctrl+K (Cmd+K on a Mac), type "convert" and choose Image - Convert / compress.
- Choose JPEG. It is the default under Format. Pick PNG instead if you need no quality loss.
- Check the quality. 85 is the default and looks like the original.
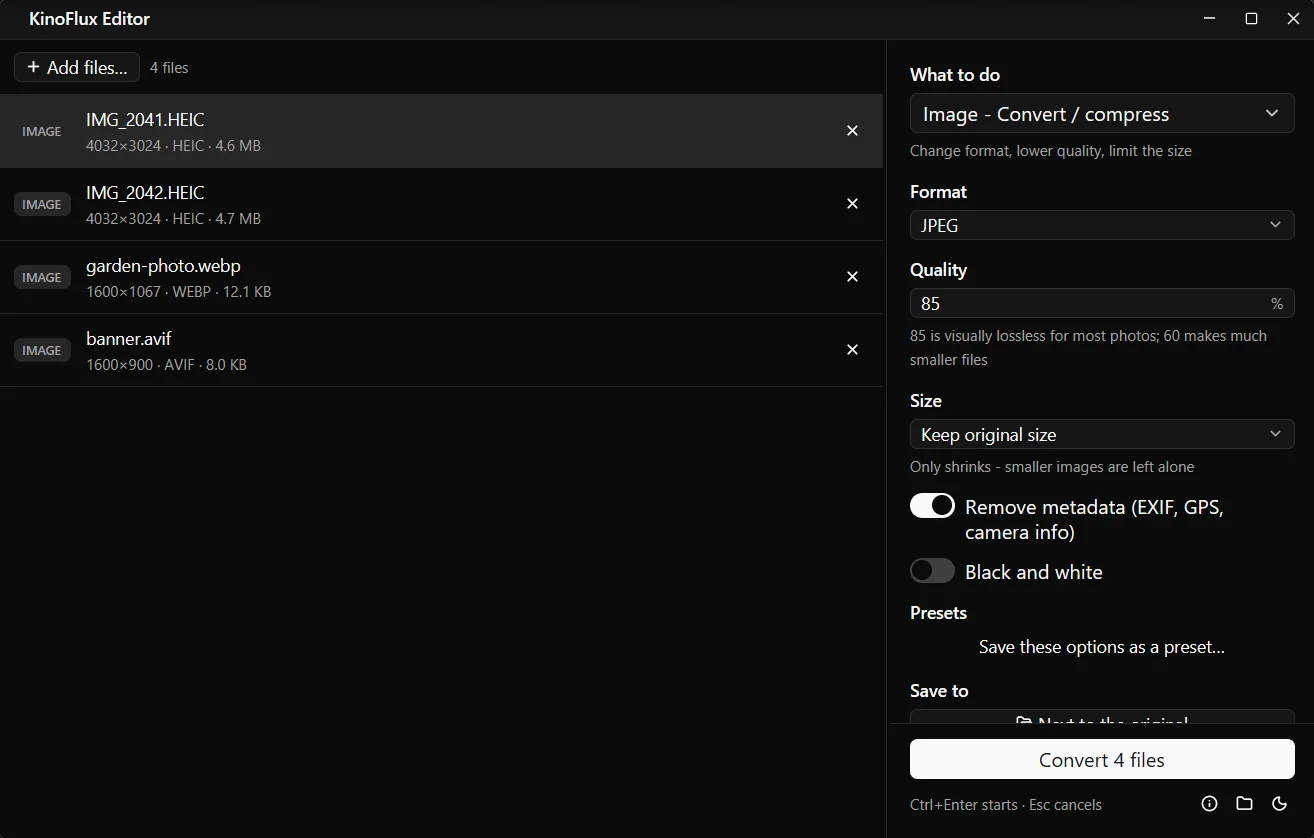
- Start. Press Ctrl+Enter. Each picture is saved next to the original with the new extension, for example
IMG_2041.jpg.
Results#
| File | Size before | JPG at quality 85 |
|---|---|---|
| IMG_2041.HEIC (4032 x 3024) | 4.6 MB | 298 KB |
| IMG_2042.HEIC (4032 x 3024) | 4.7 MB | 297 KB |
| garden-photo.webp (1600 x 1067) | 12 KB | 33 KB |
| banner.avif (1600 x 900) | 8 KB | 27 KB |
The test pictures are demo images made for these guides. They are simple and smooth, so the JPGs are much smaller than the ones from a real camera photo would be. Two things still hold for real photos:
- WebP and AVIF usually grow when you convert them to JPG. They are more efficient formats. That is normal, and the price of a file that opens everywhere.
- The pixel size stays the same unless you pick a smaller Size.
Options#
| Option | Choices | Default |
|---|---|---|
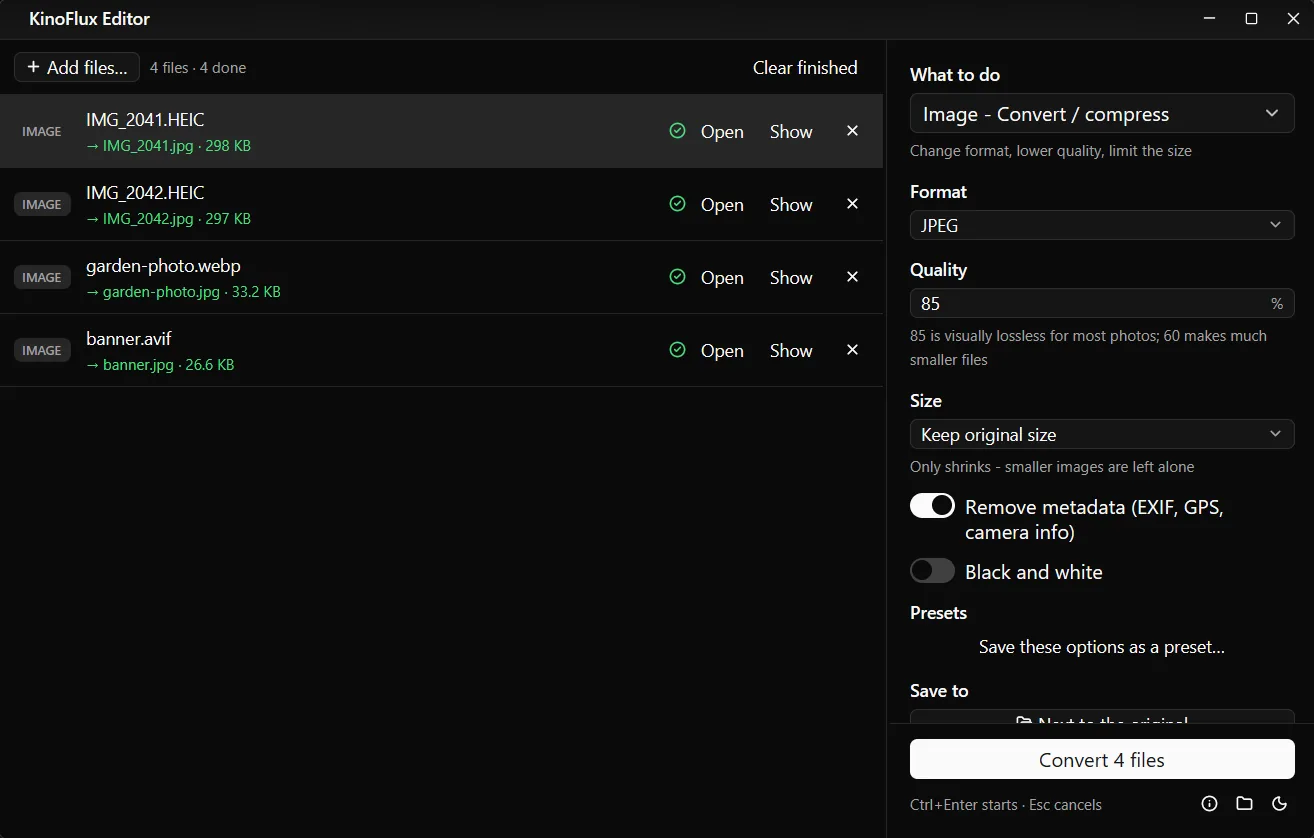
| Format | JPEG, PNG, WebP, AVIF, TIFF, BMP, GIF, ICO (up to 256 px), PDF (one page), PSD, TGA, JPEG 2000 | JPEG |
| Quality (JPEG, WebP, AVIF, JPEG 2000) | 1 to 100 | 85 |
| Size | Keep original, or longest side 3840, 2560, 1920, 1280, 1024 or 800 px (only shrinks) | Keep original |
| Remove metadata (EXIF, GPS, camera info) | on or off | on |
| Black and white | on or off | off |
The tool reads JPG, PNG, WebP, BMP, TIFF, GIF, ICO, HEIC, HEIF, AVIF, JPEG 2000, TGA, PSD and SVG.
Which format to pick#
| You need | Pick |
|---|---|
| A photo that opens in every program and website | JPEG |
| Screenshots, drawings, text, or no quality loss | PNG |
| Small files for your own website | WebP, or AVIF for even smaller |
| A file for print shops that ask for TIFF | TIFF |
Limits#
- HEIC is input only. You cannot convert to HEIC.
- SVG is input only. SVG files are turned into pixels when converted. There is no SVG output.
- JPEG has no transparency. See-through areas, for example around a logo, become white. Use PNG or WebP to keep them.
- Metadata removal is all or nothing. With the switch on, the date taken is removed together with the GPS position. If you want to look at what a photo carries first, see check and remove hidden metadata.
Related guides#
- Converting a whole folder of photos for a website, with resizing? Convert and resize images in bulk.
- Files still too big for an email? Compress photos.
- Want all the photos in one document? Combine images into one PDF.
All tools are on the KinoFlux Editor page.
Frequently asked questions
Do I need the HEIF extension from the Microsoft Store?
No. KinoFlux Editor reads HEIC and HEIF with its own bundled ImageMagick, so it works on a plain Windows install.
Can I convert JPG to HEIC?
No. HEIC can be read but not written. For small modern files, convert to WebP or AVIF instead.
Is the photo location removed?
By default, yes. Remove metadata (EXIF, GPS, camera info) is switched on, so the JPG does not carry the GPS position or the phone model. Switch it off if you want to keep the date and camera data.
Which quality should I use?
85, the default, looks the same as the original for most photos. 60 to 70 makes much smaller files for sharing. Use PNG when you need no loss at all, for example for screenshots.
What happens to Live Photos?
Only the still picture is converted. The short video part of a Live Photo is a separate file and is not touched.
- heic to jpg
- webp to jpg
- avif
- image converter